How Procreate Transforms My Interior Design Renders
From concept to client
Hey design enthusiasts and fellow creatives!
As an interior designer, one of the most exciting parts of my job is bringing a vision to life. It's not just about picking pretty fabrics or the perfect shade of paint; it's about crafting a feeling, a mood, and a space that truly reflects my clients' dreams. And when it comes to presenting those dreams in a tangible, inspiring way, my secret weapon has increasingly become Procreate.
Yes, you read that right! While you might associate Procreate with digital art and illustration (and it's brilliant for that!), it's quickly become an indispensable tool in my interior design workflow, especially for creating client-ready renders.
Why Procreate for Interior Design Renders?
You might be thinking, "Aren't there dedicated 3D rendering software for that?" And absolutely, there are! But Procreate offers a unique blend of advantages that make it perfect for a certain stage of the design process, and often, even for final presentations:
Speed & Agility: Let's face it, time is precious. For quick iterations, mood board development, or even immediate client feedback during a meeting, Procreate allows me to sketch, color, and texture ideas at lightning speed. No more waiting for lengthy renders to process!
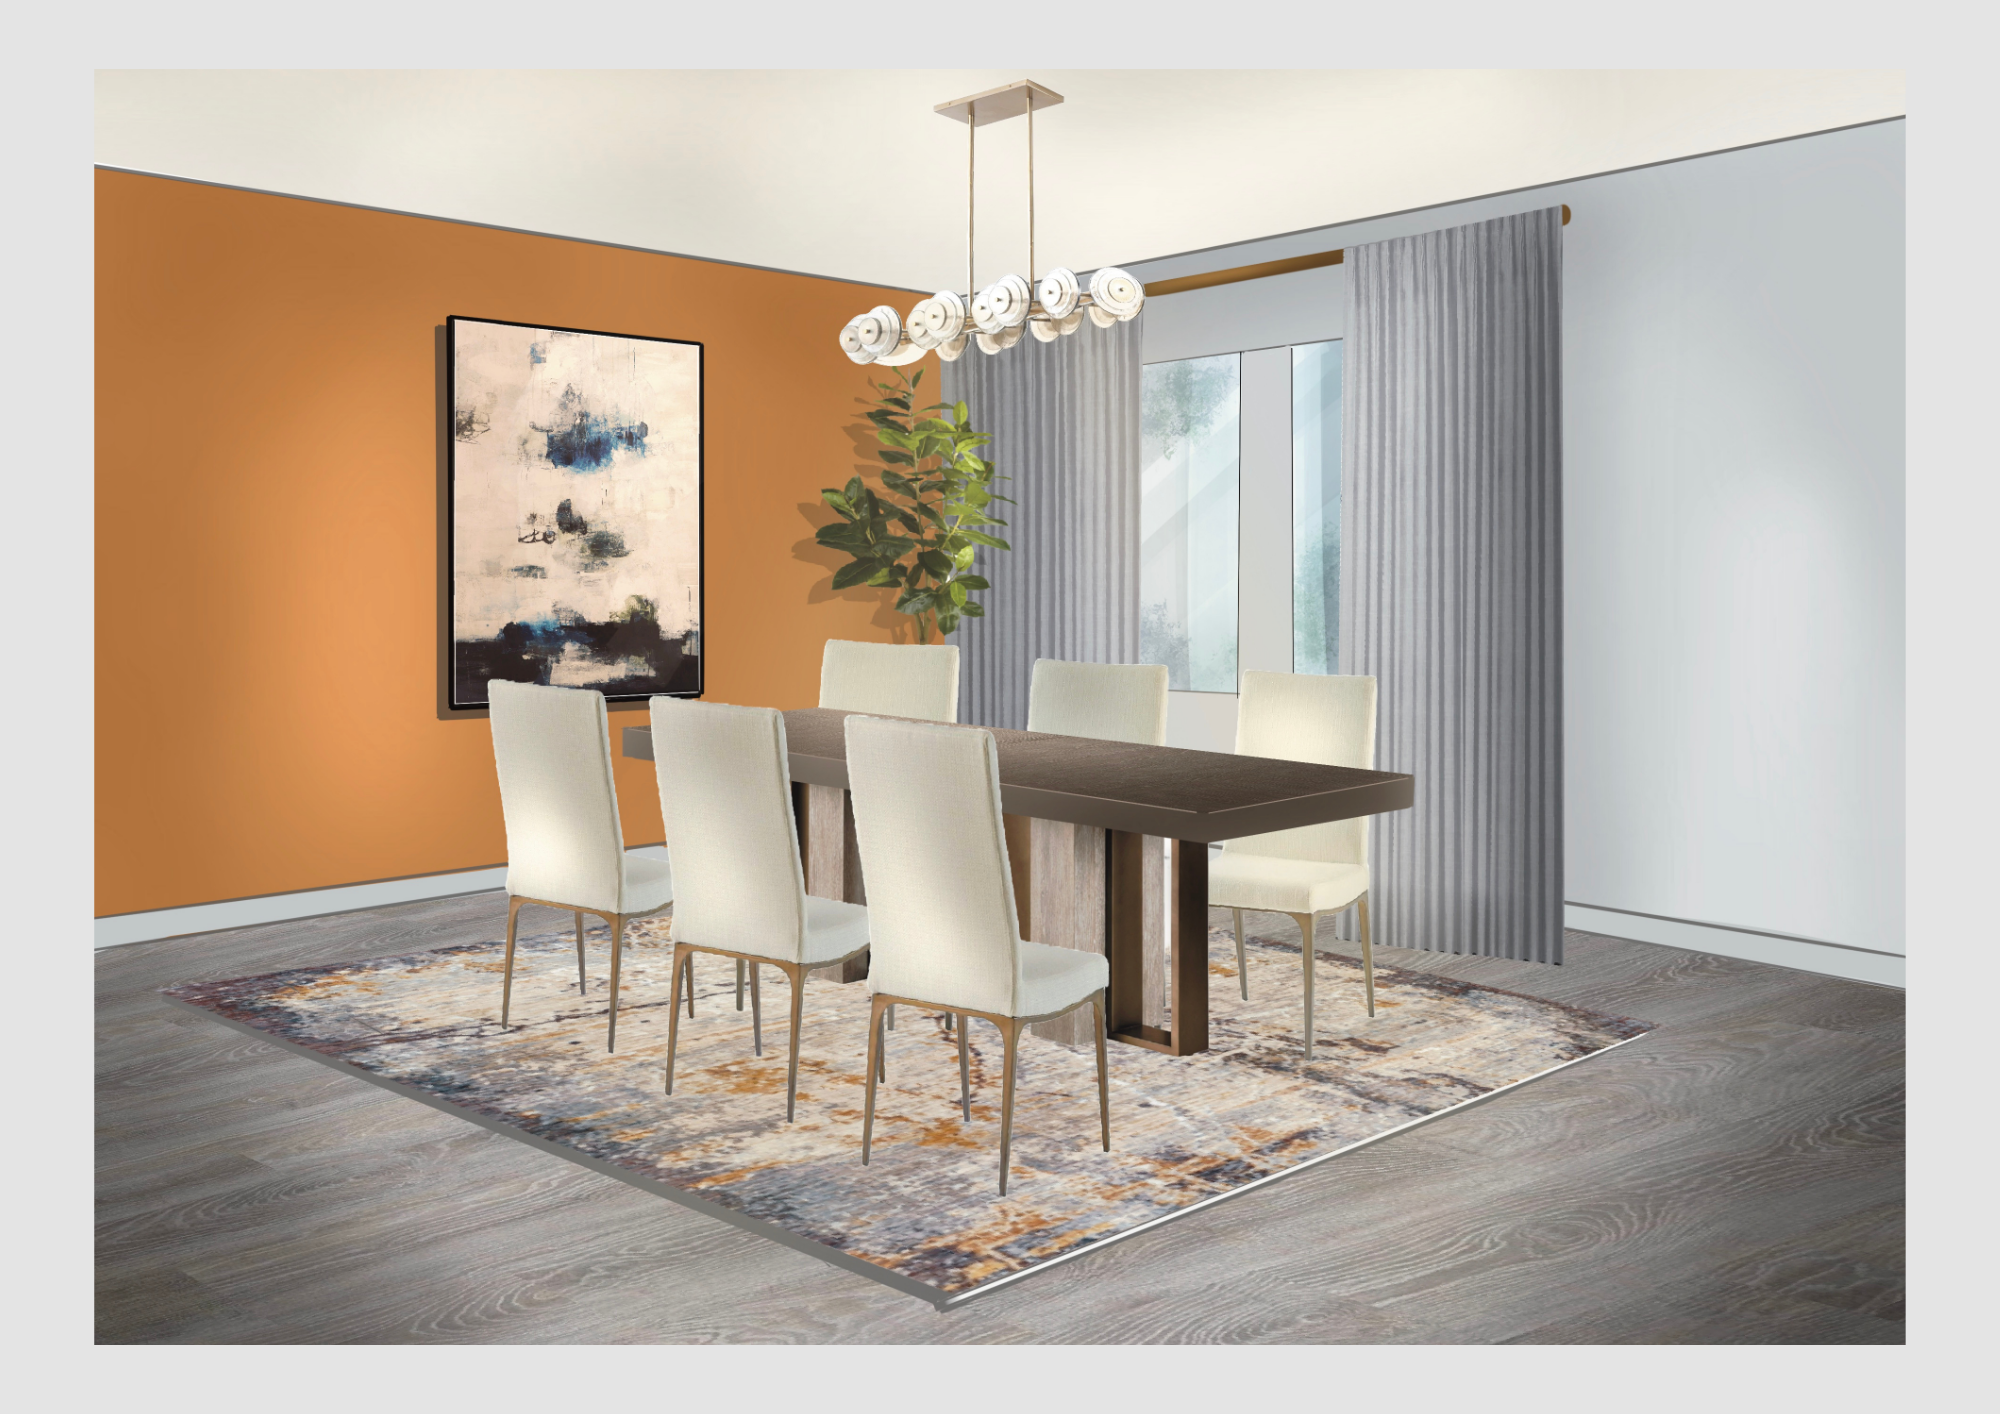
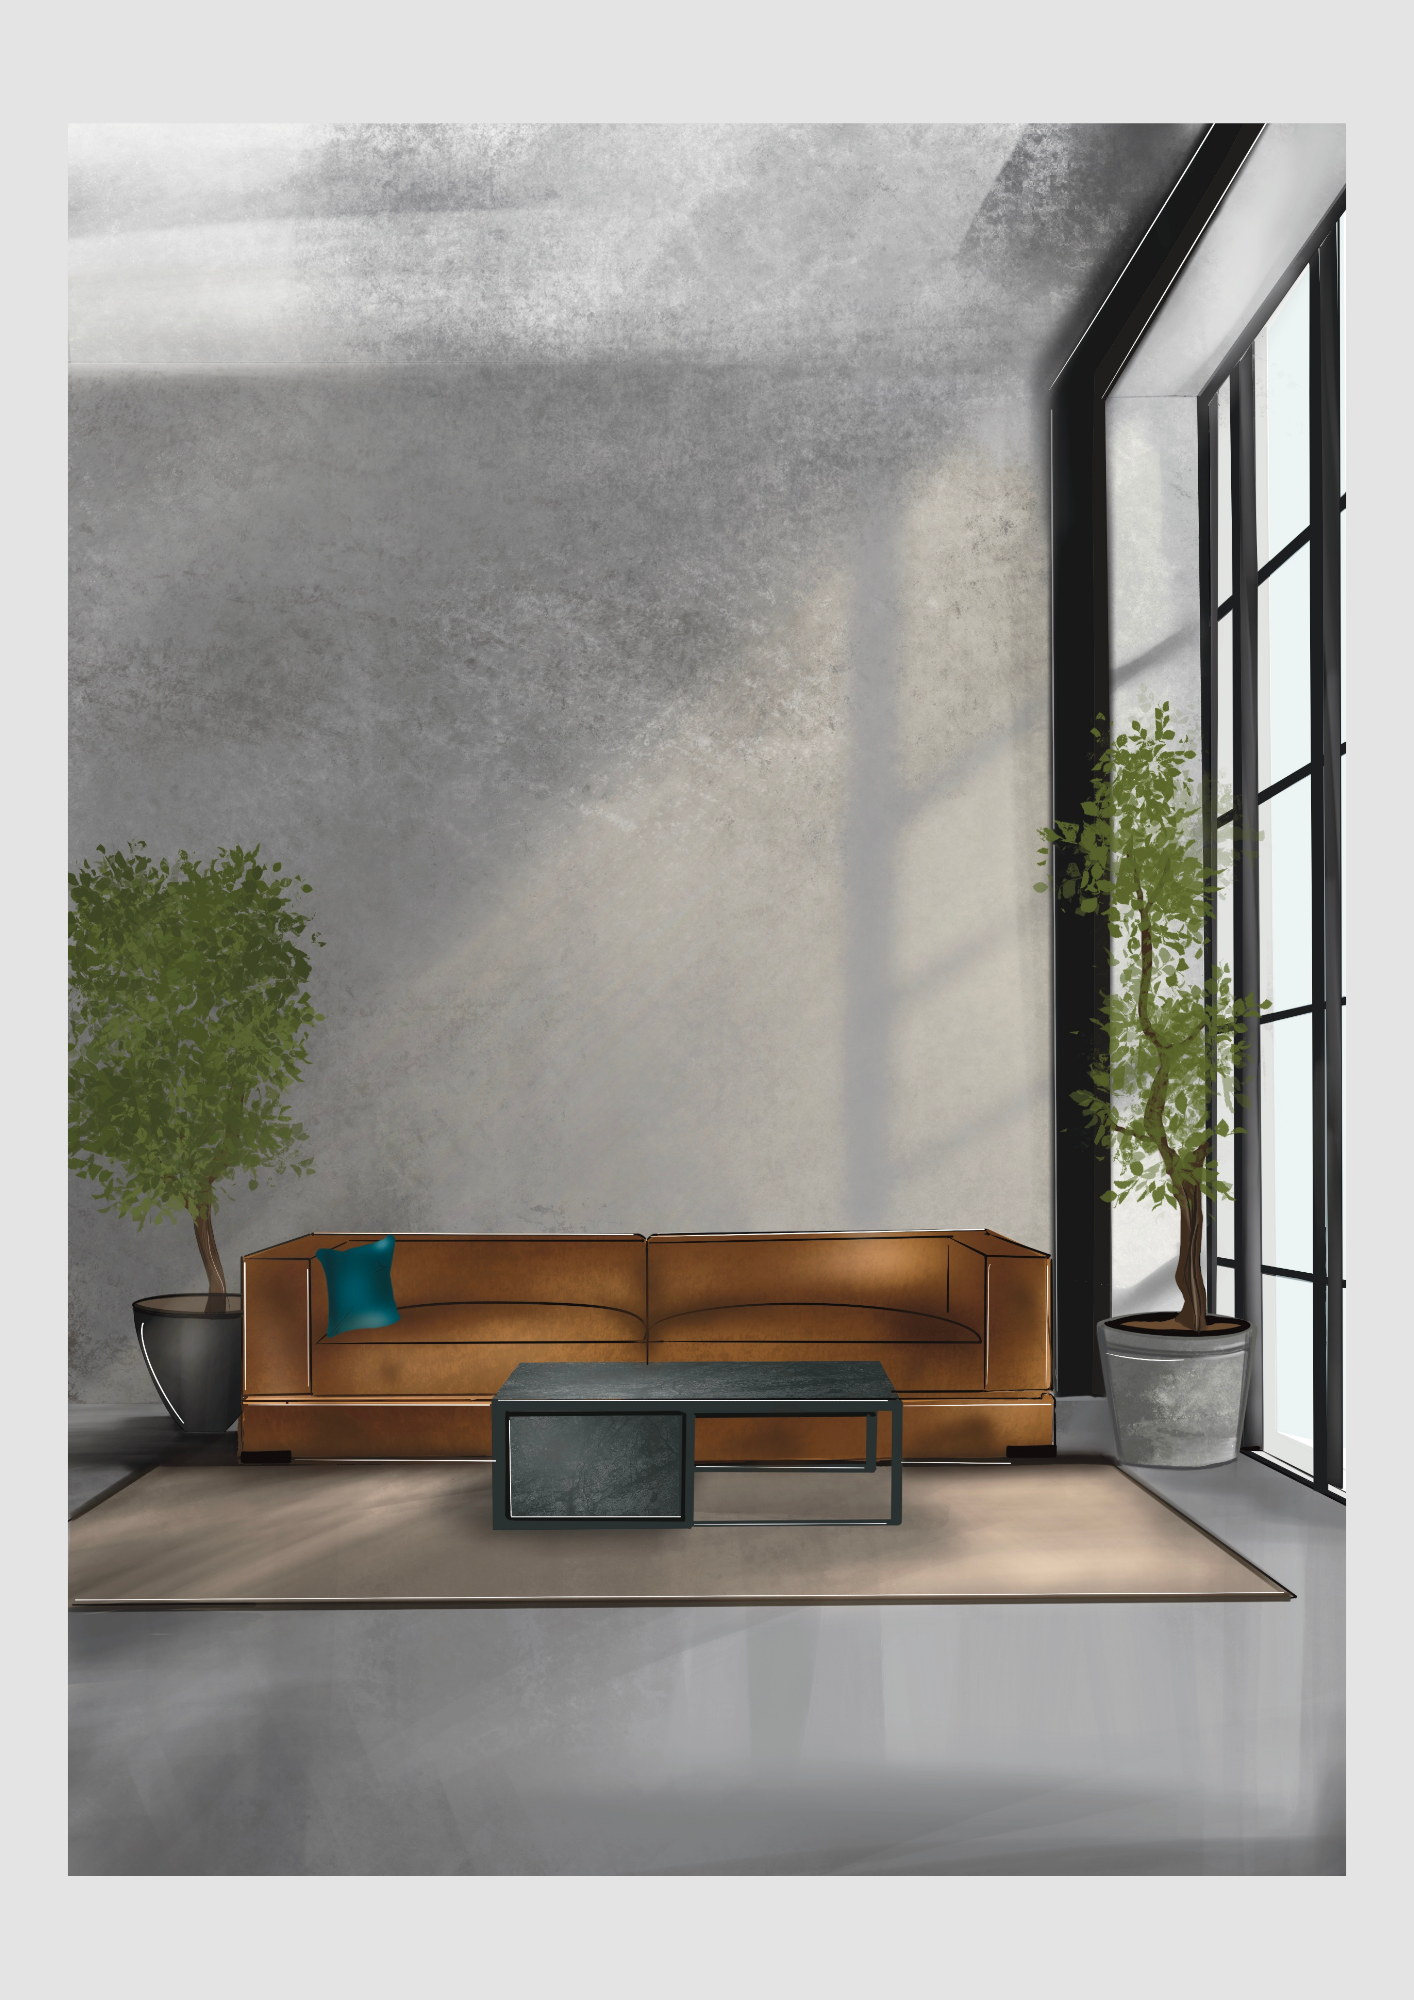
The Human Touch: This is where Procreate truly shines. While hyper-realistic 3D renders are impressive, they can sometimes feel a bit… sterile. Procreate allows me to inject a beautiful, hand-drawn quality into my visuals. It feels more personal, artistic, and helps clients visualize the "lived-in" feel of a space rather than just a perfect, untouched model. It communicates warmth and personality, which is often what clients are truly looking for.

Client Connection: I've found that clients respond incredibly well to Procreate renders. The slightly illustrative style makes the design feel more approachable and less intimidating. It's easier for them to imagine themselves in the space when it has that inviting, "sketched-with-love" quality. It sparks conversation and collaboration far more effectively than a cold, technical drawing.
Versatility & Flexibility: From adding textures and patterns to furniture, to experimenting with lighting and shadows, or even quickly trying out different color palettes, Procreate's vast brush library and intuitive layering system give me immense creative freedom. I can work over existing photographs, floor plans, or even start from scratch.
Cost-Effective & Accessible: Compared to some high-end rendering software, Procreate is incredibly affordable and runs beautifully on an iPad. This makes it a fantastic option for designers looking for powerful tools without breaking the bank.

How I Integrate Procreate into My Process
My typical workflow often involves a combination of tools, and Procreate fits seamlessly into the mix:
Initial Concepts & Sketching: Before diving into detailed CAD drawings, I often use Procreate to brainstorm initial layouts, furniture arrangements, and stylistic ideas directly onto a basic floor plan.
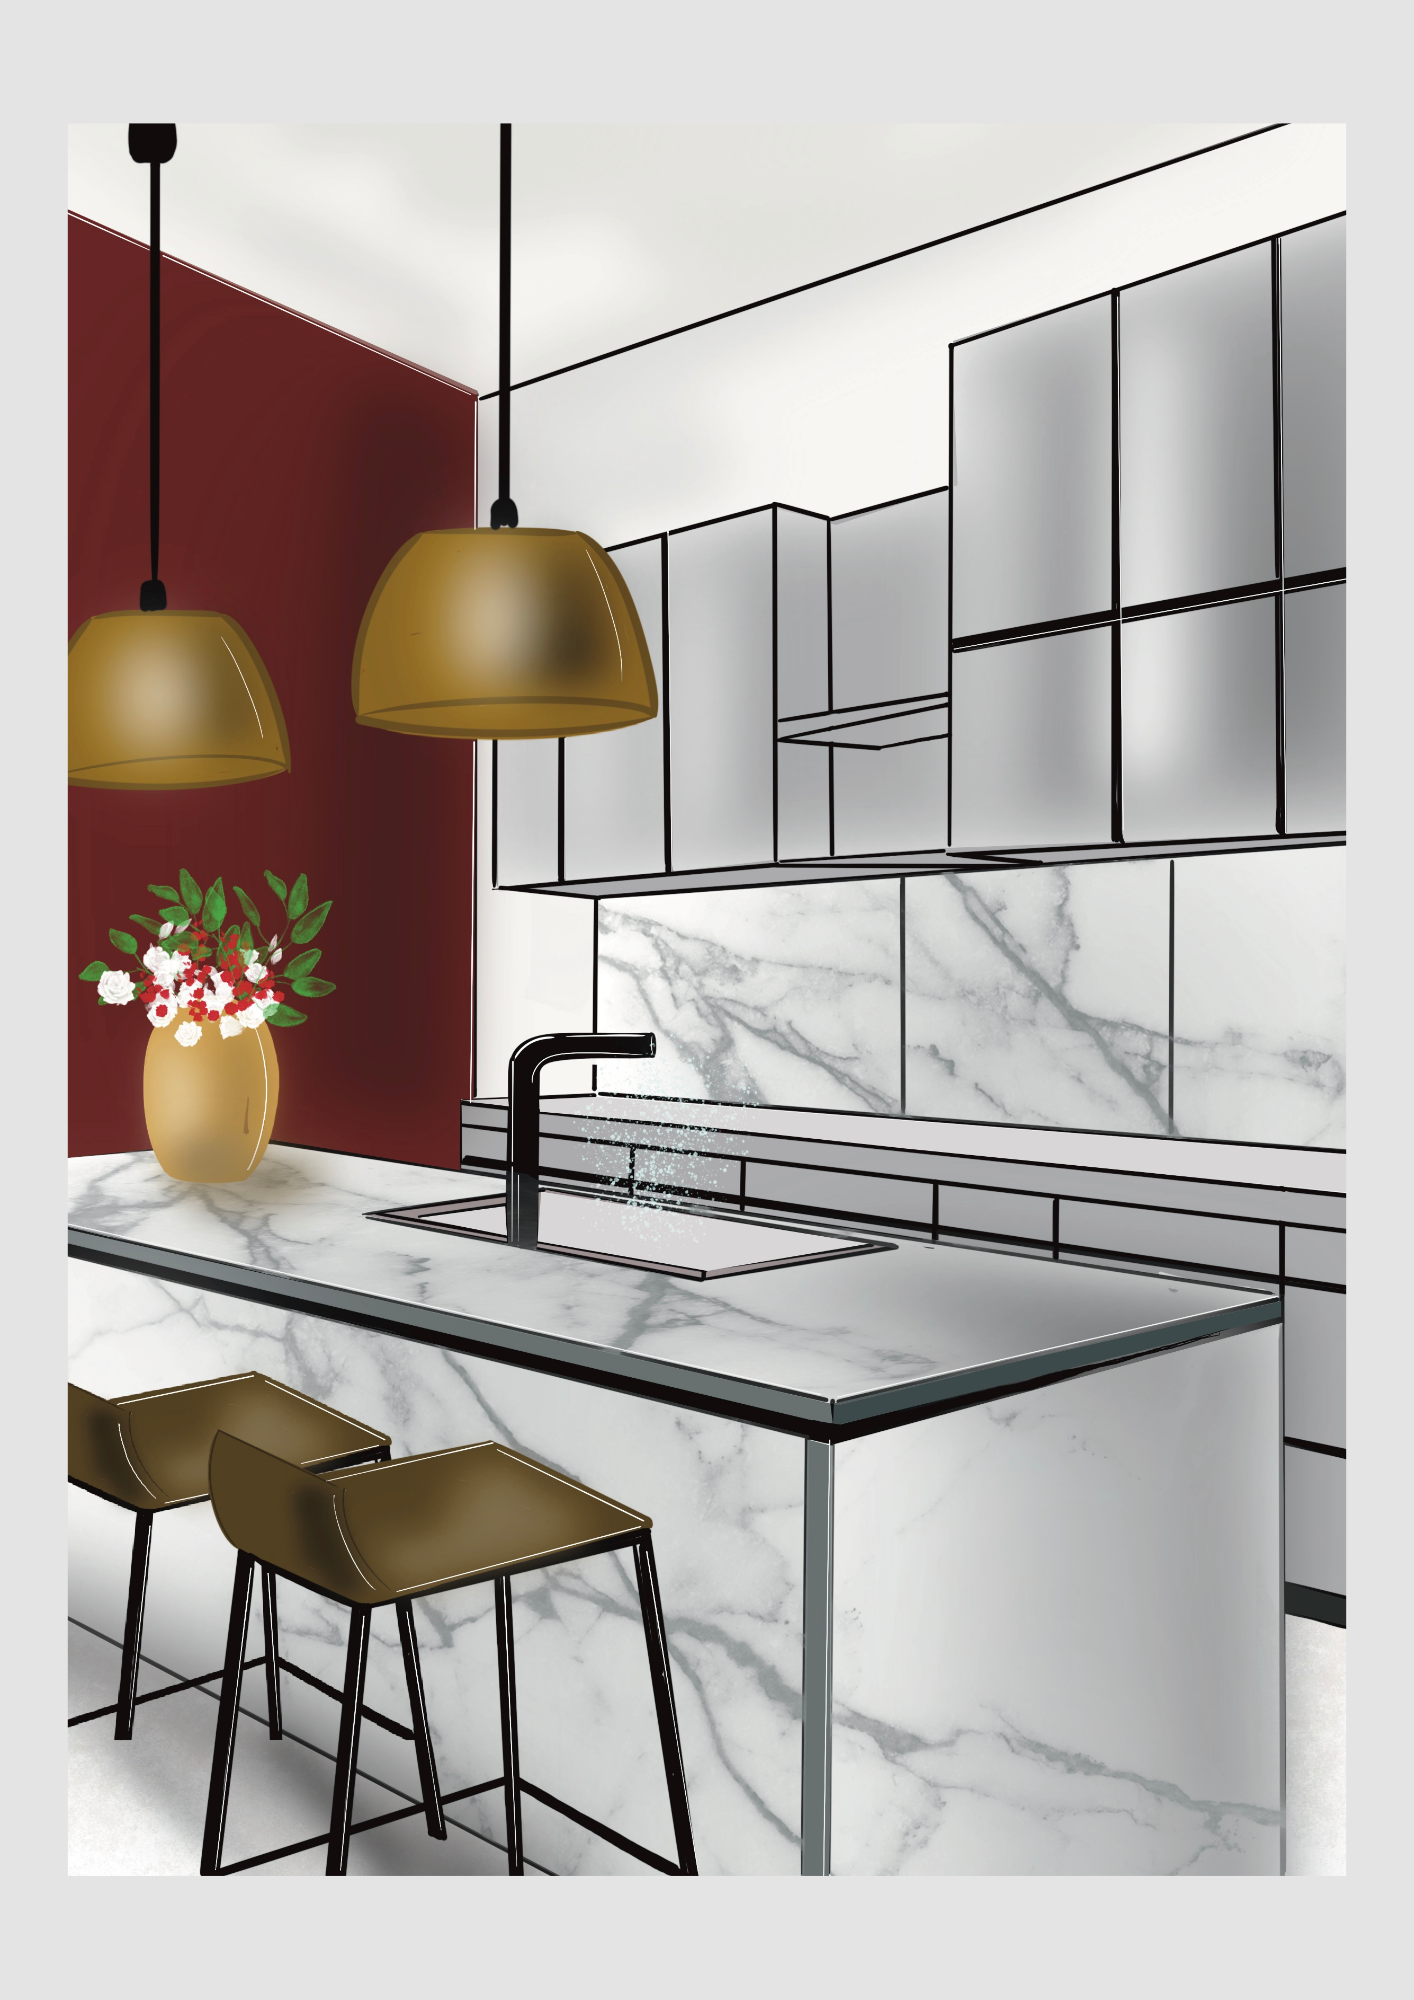
Layering Over 2D or Basic 3D: I might take a basic 2D elevation or a simple 3D wireframe render from another program and then bring it into Procreate. This is where the magic happens! I add textures (wood grain, fabric weaves), paint in colors, introduce decorative elements, and enhance lighting and shadows to give the render depth and realism.
Mood Board Enhancement: Procreate is perfect for creating dynamic mood boards. I can collage images, add handwritten notes, color swatches, and even sketch furniture directly onto the board to solidify a concept.
Quick Revisions & Client Feedback: During client presentations, if a client wants to see a quick change (e.g., "What if that sofa was blue?"), I can often make that adjustment in real-time in Procreate, which is incredibly impressive and efficient.

My Go-To Procreate Tips for Interior Designers:
Master the Layers:
Layers are your best friend! Use them to separate elements like walls, furniture, lighting, and accessories. This makes revisions a breeze.
Experiment with Brushes:
Procreate has an incredible range of brushes. Explore textured brushes for fabrics, soft brushes for lighting, and crisp linework brushes for architectural details. You can even create your own!
Reference Photos are Key:
Keep a library of inspiration images (textures, furniture, lighting) handy. You can import them directly into Procreate to sample colors or use them as guides.
Learn Perspective Tools:
Even if you're working over a flat image, understanding basic perspective tools can help you add realistic depth to your furniture and decor.
Practice, Practice, Practice:
Like any skill, the more you use Procreate, the more intuitive it becomes. Don't be afraid to experiment and make mistakes!
For me, Procreate isn't just a rendering tool; it's an extension of my creativity. It allows me to bridge the gap between technical drawings and the emotional connection clients need to truly fall in love with their future spaces. If you're an interior designer looking to add more personality, speed, and artistic flair to your presentations, I highly encourage you to give Procreate a try!
Have you used Procreate in your design work? I'd love to hear your experiences and tips in the comments below!
